
.JPG) This is my last guest designing project for A Kiss On The Chic. I really love the colours and all the embellishment included in this kit. It makes all my pages looks so soft and feminine.
This is my last guest designing project for A Kiss On The Chic. I really love the colours and all the embellishment included in this kit. It makes all my pages looks so soft and feminine.Here are the steps.
1) Use a pattern paper as the base for this page. Distress it's edges using the scissors distressing technique and ink it with distress ink.
2) Cut out a rectangular piece from another pattern paper and distress it's edges. Ink it with distress ink and paste it in the middle of the page.
3) Attach a flower on the left corner of the piece in step (2) and dress it up with some Stickles.
4) Cut out another rectangular piece from a white card stock and distress it's edges using the scissors and tear in techniques. Attach it to the page.
5) Ink a strip of Invisibles with distress ink and add it horizontally across the layers of papers.
6) Distress the edges of the photograph and tear in on it's upper left corner. Hand stitch two cross stitches on it. Add it to the page.
7) Add a strip of velvet hearts at the bottom of the photograph and detail it with Stickles and Liquid Pearls.
8) Cut out a scallop heart from another pattern paper and ink it's edges with distress ink. Dress it up with Stickles and add it to the page.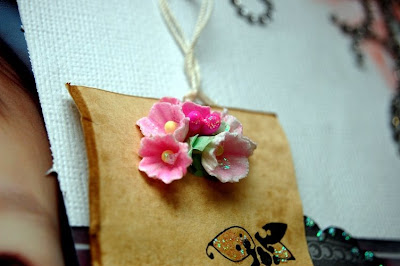

 9) Add some flowers to the tag included in the kit and paste it onto the page. Add a crown overlay on it too.


10) Ink another chipboard frame Invisibles with distress ink and dress it up with ribbons, flower and Stickles. Cut out the overlay "Beautiful You" and add it to the frame.

11) Create some flowers using the "Create Flowers with Paper Ruffles" technique and add it below the wings and one more on the lower left of the photograph. Dress it up with Stickles.
12) Detail the wings and the heart with Liquid Pearls and Stickles. Add a crystal corner to the upper right of the layers of papers.
I hope that those of you who had bought this "Love" kit had enjoyed creating using it. I've really fell in love with the colours in this kit.
My DT box from Clear Scraps finally arrived at my home yesterday after being held at the customs for weeks. I just can't wait to dive in and start creating using them. I've even received two new tools in it. Isn't that cool? I can cut straight now and scor all I want! I bet you all know the tools that I'm talking about.
Sources: Card Stock: Bazzill; Pattern Papers: Heidi Swapp; Inks: Ranger Distress Ink; Overlay: Heidi Swapp; Chipboard: Heidi Swapp; Others: Ranger Distress Stickles, Ranger Liquid Pearls, Prima flowers and crystal corner, velvet border, tag, ribbons, buttons, floss for stitching, paper ruffles, Zip Dry, Glue Dots, Helmar Glue and other adhesives.
12 comments:
This is very beautiful, as is all your work. Thank you so much for sharing.
This is truely beautiful !!!!
So sweet and soft LO :)
This is truely beautiful !!!!
So sweet and soft LO :)
heel erg mooi ik geniet altijd van jouw creaties
so precious Irene!!
hugs!
Your lo is totally gorgeous! Thanks for showing and for the tutorial! Every detail is so pretty!
This is absolutely stunning, Irene! :)
This is absolutely stunning, Irene! :)
oh, so lovely, I love pink, this is indeed a nice kit! can we buy it, where? and you little girl is so very cute!! what a cute laughter. happy hugs from Belgium.
Hi nancy.aper,
You could email the owner or order it here. http://akissonthechic.typepad.com/laura_mccollough_scrapboo/june-kits.html
Oh my! What a beautiful layout! I'm so glad I got a chance to order your project kit from Laura. I am so excited to get it! Would you like a link to my project when completed?
Stunning work, Irene! Absolutely gorgeous pictures!
Post a Comment