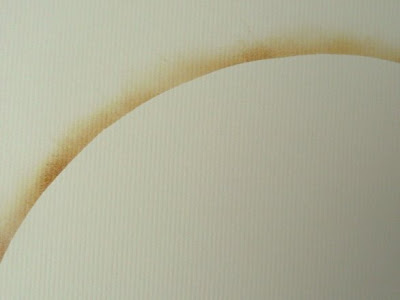
 This is a post that had been requested by a friend of mine. She wants to know how to avoid ugly smudges or marks when doing her masking. First of all, whenever I do my masking, I always used a sponge. The sponge that you see in the above photograph is a cosmetic sponge where we would normally use to apply our wet foundation. It's triangular in shape. I've always dab the sponge on one edges into the ink. To mask, I've hand cut a self made simple template, place it on my card stock or paper with temporary adhesive. (I would advise that if your masking template is huge, use a temporary adhesive to hold it in place) (Tip: simply use a normal sticky tape and roll it in circle to create your own temporary adhesives)
To start masking, place the inked edge of your sponge on top of the template. This is to avoid too much ink on the masking. Using the portion after the edge to do the masking instead. This will soften the look of your masking and you will avoid any ugly marks. (Tip: Do not over dab your sponges with too much ink too.) I hope this will help any of my readers who also had the some problems while doing masking.

3 comments:
Absolutely stunning!! another masterpiece, love the little details and the stitching has paid off it looks gorgeous.
What a beautiful flourish your friend sent you too! Such a cute photo!
Happy mothers day!!
great tips Irene! thanks!! i'll have to try.
Wow!!!, its wonderfull!!!!!
I love your ideas!!!!!!!
Hugs, Gra.
Post a Comment